I recently got a deal on a new 1 TeraByte hard drive, so I decided to document the steps it took to get it up and running in Linux. I'm going to assume you want to format the drive for Linux. If not, then you can probably use the CD that comes with the hard drive to partition it and format it to NTFS or FAT32. Linux can read and write to these formats, but I prefer to use the ext3 filesystem.
The first step, of course, is to install the new hard drive. I'm not going cover that here. It's pretty easy and the instructions that come with the drive should be adequate.
After the drive is installed and the BIOS is configured, boot the computer into Linux.
Now it's time to partition and format the drive. The tool to do this is called GParted. You can find it under System->Administration->Partition Editor. If it's not there, then you probably don't have it installed. Open Synaptic and install it, or fire up the terminal and enter:
Once you have GParted open, select the device from the upper right corner. It should be the last one on the list. In my case, it was /dev/sdc.
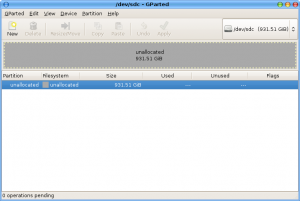
Select on "unallocated" in the lower portion of the window.
Select Device->Set Disklabel and then click on Create.
Now you can go ahead and create the partitions. Select the unallocated space in the lower part of the window and then click New. In the new window, change the Filesystem to ext3. If you want the entire drive to show up as only one device, then you only need to create one partition, so go ahead and click Add.
In my case, I wanted to make a 20GB boot partition for trying out different Linux distros, so I set the New Size to 20480 (1024 x 20) first. To create the second partition, repeat the process on the unallocated space.
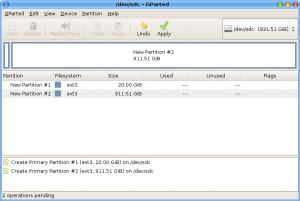
Once you've created all of your partitions, click Apply.
Click Apply at the warning pop-up. Now just wait for the process to finish. It will take a few minutes to complete if it's a large drive.
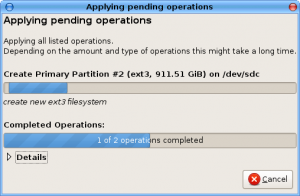
Click on Close.
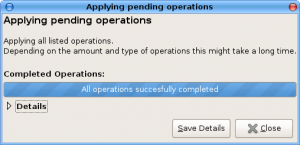
You can now close GParted.
Now you'll want to name your new drive partitions. I'm going to call mine test (20GB) and storage. In the terminal:
sudo e2label /dev/sdc2 storage
These commands assume your drive is the third one added to your system. (sda, sdb, sdc, etc.)
Now you'll need to mount the partition and change the permissions. I'm going to use a root Nautilus session for this. From the terminal:
Click on the disk icon for your storage partition on the left side to mount it. Click on storage again to select it.
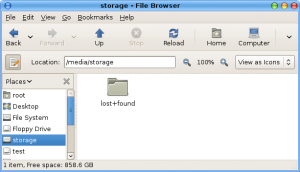
Right click in the folder area and select Properties. Select the Permissions tab and make it look like the following, then click Close.
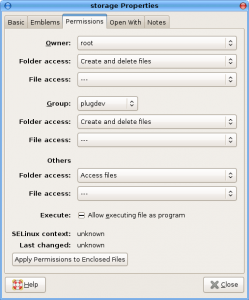
You can now mount and unmount the storage partition through the Nautilus file manager. If you want to have this partition mount automatically at boot time, you'll need to add an entry to your /etc/fstab file.
You'll need to know the UUID of the drive partition. My storage partition is the second partition on drive c (the third hard drive). To find the UUID I used the following command.
If your new drive is the second hard drive and you only made one partition, then you'd substitute sdb1 for sdc2 in the above command.
Now that you have your UUID you can edit /etc/fstab.
sudo gedit /etc/fstab
My entry looks like this. Modify it for your UUID.
UUID=44dd1d8d-080e-4b61-98e2-e46e6ae89a27 /media/hdc2 ext3 defaults,noatime 0 2
Now create the folder for the mount point.
And finally, force the OS to reread the /etc/fstab file.
You're all set. Your new hard drive should show up every time you boot into Linux.